5 Reasons Apple Stamping is the Best Fall Activity in 2024
As we enter fall, our minds start to shift our daydreams toward cooler mornings, sweater weather, and fall produce. Naturally, fresh apples are in our thoughts! One of the best ways to celebrate apple season with our children is to do an apple stamping craft.
Granted, there are so many apple stamping craft ideas to choose from, so how do you pick one? Because of the numerous wonderful activities you can do with apple stamping, I will highlight some of our favorites.
Reasons for apple stamping
On the surface, apple stamping is a way for kids to make a cute craft. While this is true, there are multiple reasons to consider engaging your child in an apple stamping craft (or two, or three!)
Sensory input
Young children seek out opportunities to ignite their senses in new meaningful ways. Of course we as parents strive to meet all the needs of our kids, and sensory exploration is one of those needs.
An activity with apple stamping is packed with sensory input opportunities! Here are some ways to fire up those senses with apple stamping:
- When washing the apples, children hear the water running and splashing. They also feel the smooth apple skin and wet water. You can even play around with the temperature of the water, being mindful that it isn’t too hot.
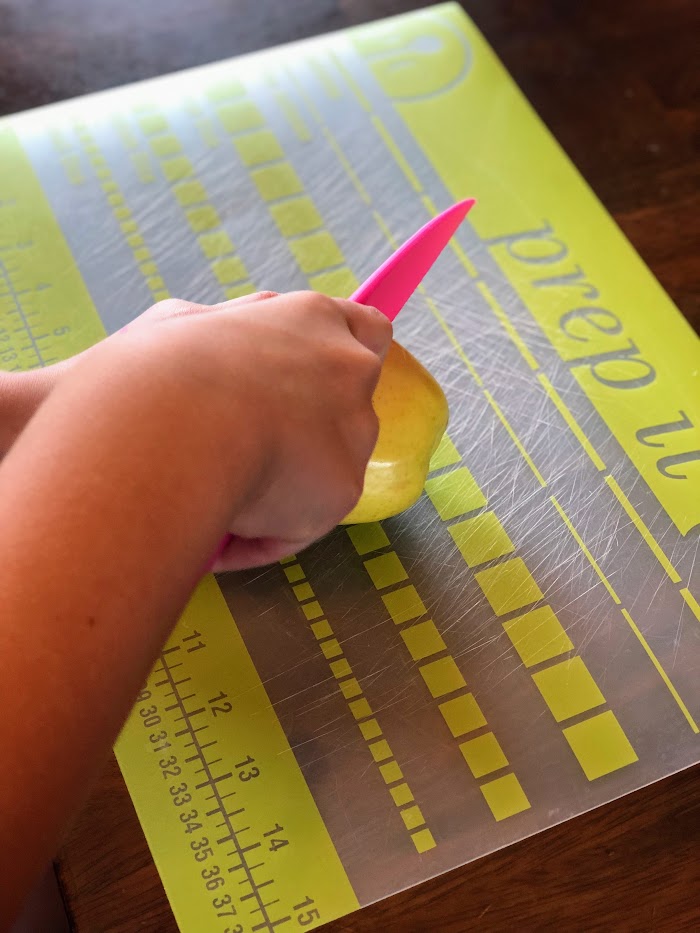
- Cutting the apple also engages the sense of touch. Help your child with a sharp knife, or better yet use a child-safe plastic one. Discuss how you have to apply pressure on the knife to cut, and then experiment with the amount of pressure you apply.
- Your child can also hear the crunch of the apple as you cut it. Point out the sound!
- The sweet scent will fill the air, but if your child doesn’t acknowledge the smell bring it to their attention.
- Give your child a taste of the apple. What does it taste like? How does it feel in your mouth? Do you hear anything when you are chewing?
- As your child dips the apple in the paint, encourage them to feel how squishy or goopy it is.
- Before washing their hands, try to have your child notice if their hands are sticky from the apple juice, gooey from the paint, or feeling stiff from the drying paint.
In addition, you will be able to interest your child in other tactile observations as you complete the apple stamping craft.
Learning opportunity
Undoubtedly, apple stamping is great fun, but there are many lessons to learn through these activities as well. If you are homeschooling, you may be working on a fall unit or apple theme. Many children are also learning about farming during this time of the year.
Therefore, take full advantage of the opportunities to build on this knowledge through an apple stamping craft.
Listed below are just some of the content knowledge children can learn from apple stamping.
- Where our food comes from
- Farmers grow and care for the apple trees.
- The ripe apples are harvested and loaded onto trucks.
- The trucks deliver the apples to grocery stores and markets.
- People buy the apples to eat.
- There are different types of apples
- Have your child go with you to the grocery store to pick out their apples.
- Notice how many different varieties there are.
- What colors of apples are there?
- How apples grow
- Find the seeds and discuss how to plant a seed.
- What does the seed need to grow?
- Are there animals or insects that assist in the successful growth of the apples?
Visual arts
In addition to the benefits of apple stamping above, this type of craft is essential in developing an eye for aesthetically pleasing designs and spatial awareness. Children can experiment with colors and building lines and shapes.
As children are stamping their apples, they are becoming aware of how much space the apple print takes up on a page, how close to stamp each print, and realistically how many prints they can fit on the page.
Consequently, children will discover the design elements that are appealing to them. Specifically, they will find out whether they like many colors in a design or just one or two, as well as if they prefer straight or curved lines.
By letting your child be creative with their apple stamping craft, they will become more attuned to their artistic inclinations.
Academic Skills
Similarly to the content knowledge acquired through an apple stamping craft, you can also prepare the activity to include academic skills. Here are some specific skills your child can work on while apple stamping:
- Counting how many prints they stamp
- Naming the colors of paint and apples
- Creating a color pattern of apple prints
- Matching a specific number to the number of apple stamped on a tree picture
- Stamping the apples to create shapes
- Stamping the apples to create letters
Fine Motor
It is necessary for young children to build the small muscles in their hands and fingers in order to eventually write. This strength and control is part of fine motor skills.
Fortunately, there are a plethora of ways to build your child’s fine motor skills! Creating an apple stamping craft can even be helpful in strengthening your child’s hands and fingers.
To illustrate, think about the slick surface of an apple. Your child will need to be able to grip the apple tightly enough that it won’t slip from their hand. This may take some trial and error before your little one discovers a grip that will work for them.
Furthermore, your child will need to have enough control to dip the apple in the paint and position in their preferred place on the paper.
As you can see, a simple apple stamping craft can really pack in the learning opportunities!
Apple Stamping Craft #1
This craft is so cute and checks off some of those math learning standards as you go! Moreover, it is sure to be a favorite with your little one.
Apple Stamping Math
Is your child working on identifying numbers or counting to match a specific quantity? This first activity in the Apple Stamping Craft Series line-up is sure to meet your expectations.
Your child will name numbers on flash cards, write numbers, and count to match the number on their flash card.
This craft can be completed with any numbers, however, you should start with mastering numbers 0-5 before moving on. Subsequently, add numbers in increments of 5.
Depending on your goal, you can use as many number cards as you’d like, although you should only have your child apple stamp 3-5 different numbers. To clarify, gauge your child’s interest and ability and be sure not to stamp out too many numbers for your child. We want apple stamping crafts to be fun, not seem like work!
Materials
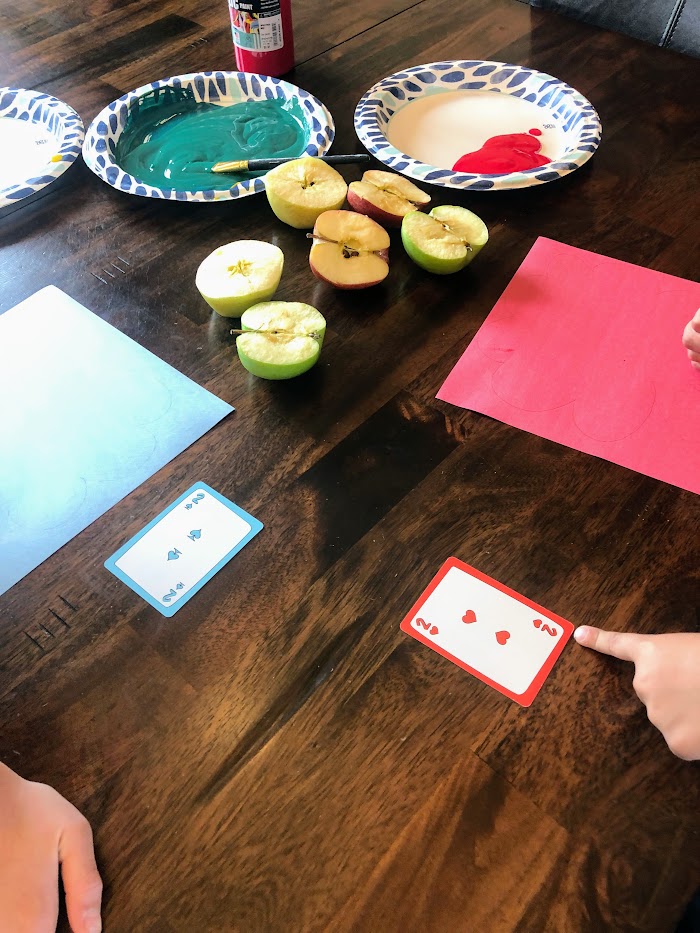
Here are the items you will need to do this craft:
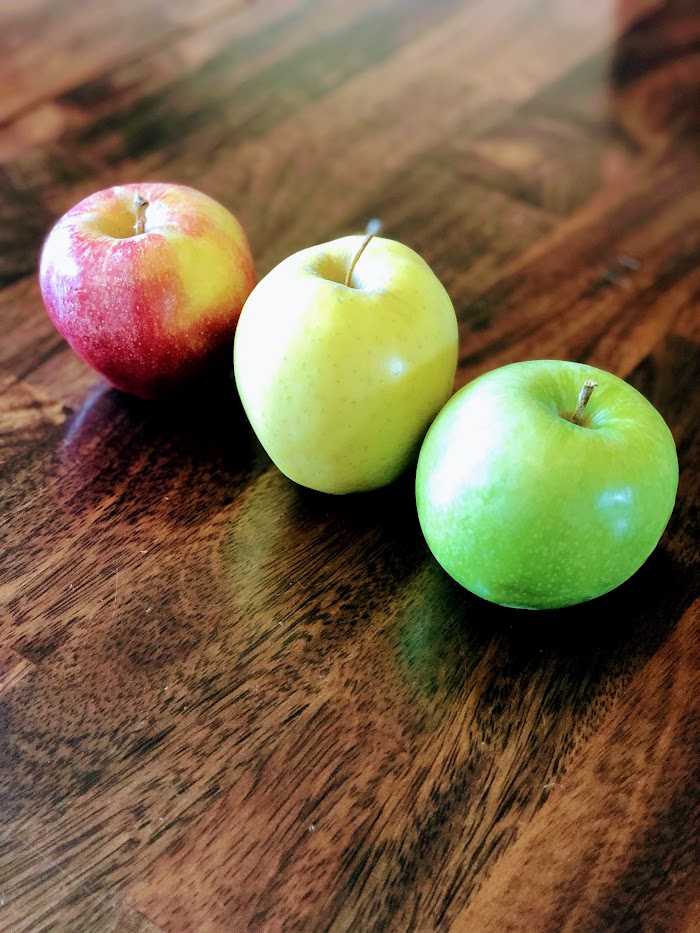
- At least one apple
- Five sheets of paper- large construction paper works well
- Red, yellow, and green paint
- Pencil
- Crayons
- Paper plates
- Knife and cutting board
- Number flash cards
Directions
- In advance, use a pencil to sketch a simple tree on each of the sheets of paper
- Wash the apple(s)
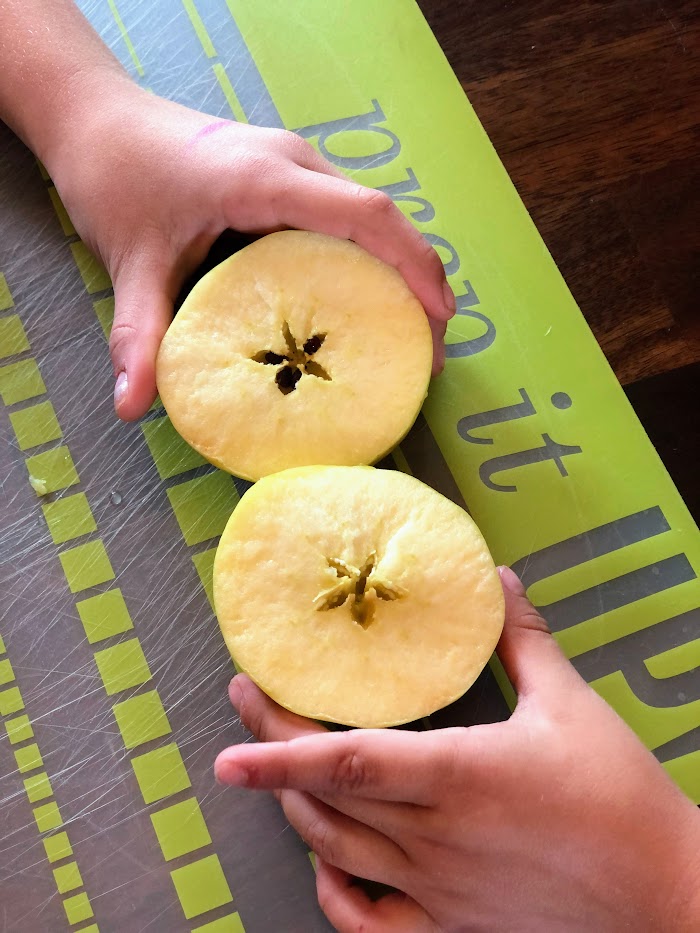
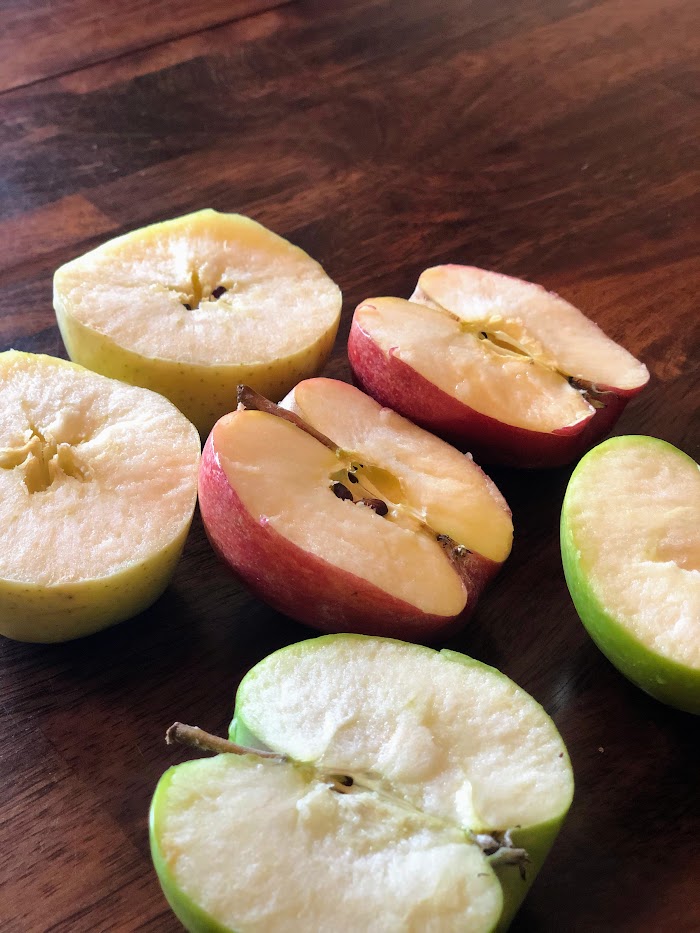
- Cut the apple through the middle; side to side, not top to bottom
- Notice the seeds 🙂
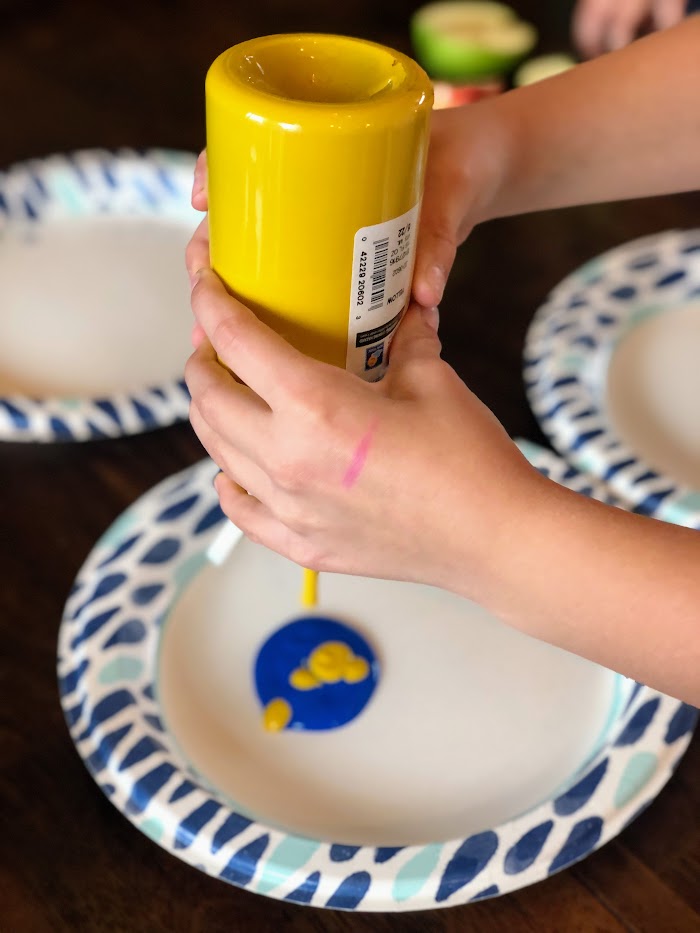
- Squirt the paint on the paper plates
- Turn the stack of number cards face down
- Next, your child will draw the top card and name the number (tell them the number if they don’t know)
- Have them write, trace, or help them hand-over-hand to copy the number on one of the tree papers
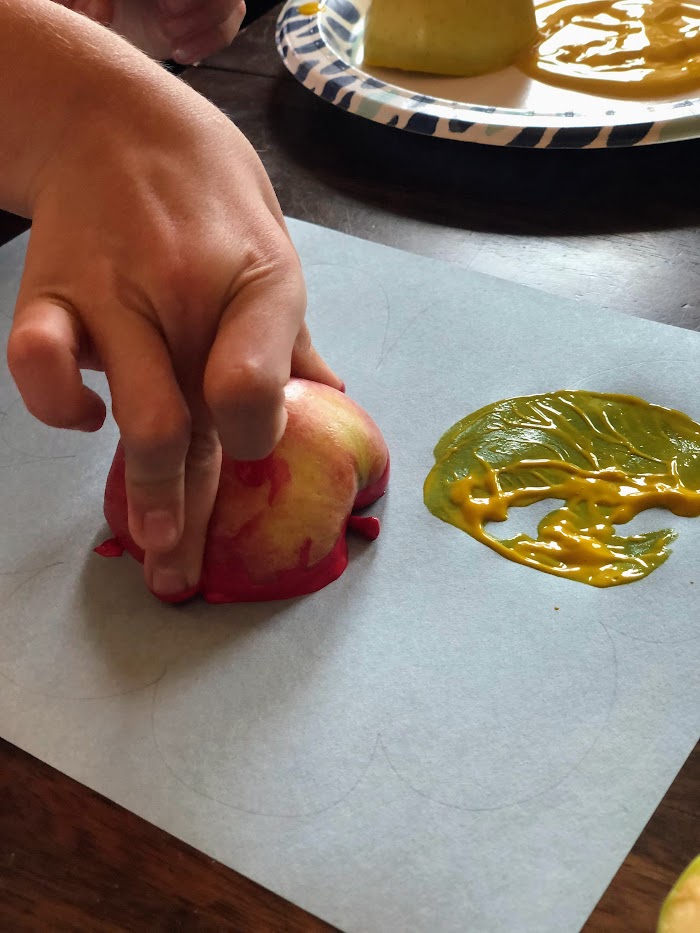
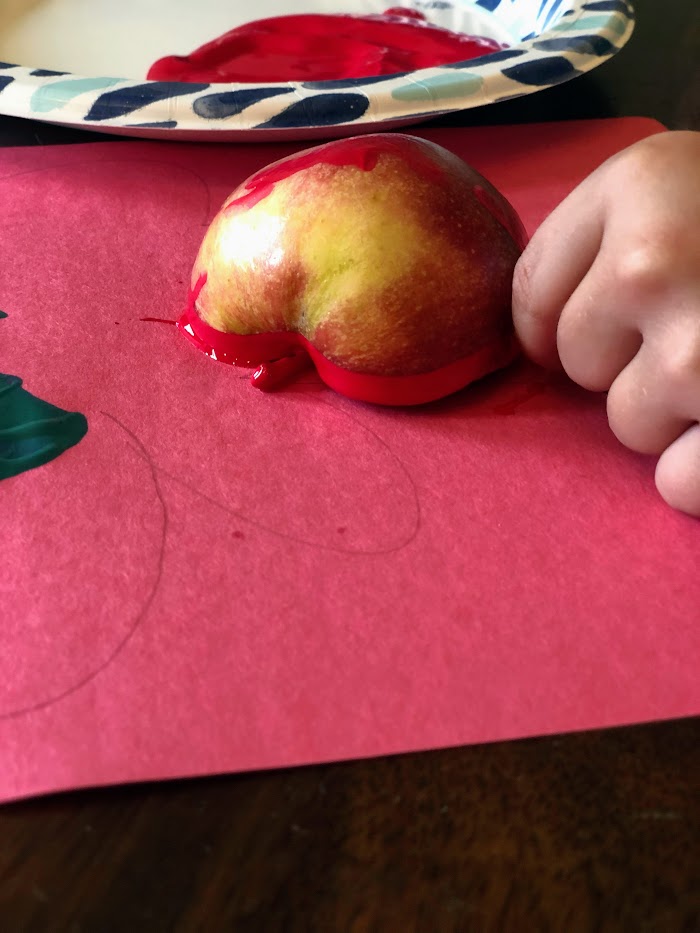
- Pick an apple half, dip the flesh side in the paint, and stamp it onto the tree
- Stamp the apple prints in the amount that matches the number on the flash card
- Encourage your child to count each stamp as they go, and then tell you the total quantity of apple prints.
- Move on to the next tree paper and repeat the process starting with step 7.
- Wait for the paint to dry, then help your child color in the trees around the apple stamps
*BONUS* When finished, guide your child in placing the trees in number order from smallest to largest.
Finally, to celebrate your child’s hard work hang the completed apple stamp trees where they can be admired!
Apple Stamping Craft #2
This next project is incredibly simple and can take up as much or as little time as you would like.
Apple Stamping Patterns
In addition to counting and number matching, patterning is also an important mathematical skill. There is a sequence in which children learn to create patterns, moreover, here is the order of mastering patterns:
- Identifying a given pattern
- Extending a pattern
- Building a pattern that follows a given type of pattern
- Creating a pattern without guidance
Identifying a given pattern
The first step in children truly understanding patterns is to be able to notice when there is a pattern. With this in mind, parents can guide their children to notice patterns in their environment.
Some examples of environmental patterns are:
- The markings on animals
- Leaves on plants
- Spiral of a seashell
- Waves of the ocean
A pattern is something that repeats itself, and in the case of ocean waves, there isn’t just one wave that crashes into a beach. Waves are constantly rolling in, granted they may come faster or slower at different times, but you always know another wave is coming.
This is one way children learn to make predictions. They start to observe patterns in their everyday lives and start to understand what will be next.
As a parent, you can help your child pick out patterns in your home. Whether it is noticing the repeating diamond design on the rug, or the simple pattern of eating (bite, chew, swallow), your child will begin to make sense of their world and start to think logically.
Extending a pattern
After children are able to see the patterns around them, they start to develop the ability to predict what will be next in a pattern.
You can encourage this by purposely setting up patterns in your child’s play. As an illustration, if your child is playing with farm animals, set some of the animals in a predictable pattern. Take some of the cows and pigs and make a row alternating the animals, and subsequently ask your child to tell you which animal should come next.
Oftentimes children love extending patterns. They are learning to organize their world and are proud of their successes of predicting what’s next.
Building a pattern that follows the rules of a given pattern
There are infinite possible patterns, although there are basic patterns that are taught to young children. Teachers use letters to describe these basic patterns with each letter representing one part of the repeating pattern.
Let’s use cows and pigs, for example. Probably the first type of pattern children learn is the ABAB pattern. This is just alternating one of each of the parts of the pattern. So an ABAB pattern with the farm animals would be cow, pig, cow, pig, cow, pig, etc.
To demonstrate, here are some common pattern types, as well as how your child could build them with sounds, body movements, or objects.
- ABAB: clap, stomp, clap, stomp, clap, stomp
- AAB: blue block, blue block, red block, blue block, blue block, red block
- ABB: jump, squat, squat, jump, squat, squat
- AABB: spoon, spoon, fork, fork, spoon, spoon, fork, fork
- ABC: penny, nickel, dime, penny, nickel, dime
Once your child is able to extend a pattern that you have started, teach them what type of pattern it is and have them “read” it by saying the letters that would represent each part. Then your child will start to build the pattern on their own when you say, “make me an ABAB pattern.”
In the same fashion, teach your child new and more complex patterns as they master them.
Creating a pattern on their own
In order for your child to show they have truly mastered the logistics of patterning, they will have the ability to create a pattern without a model or guidance.
You can set up an open invitation for them to create a pattern by setting out a basket with many objects with varying attributes. Some examples of objects you can use are:
- Buttons
- Seashells
- Coins
- Hotwheels cars
- Art materials like pom poms or sequins
- Pattern blocks
- Teddy bear counters
- Colored bingo chips
- Lego
If your child doesn’t independently start creating a pattern with the materials provided, you can ask them to make a pattern without specifying what type.
Down to business
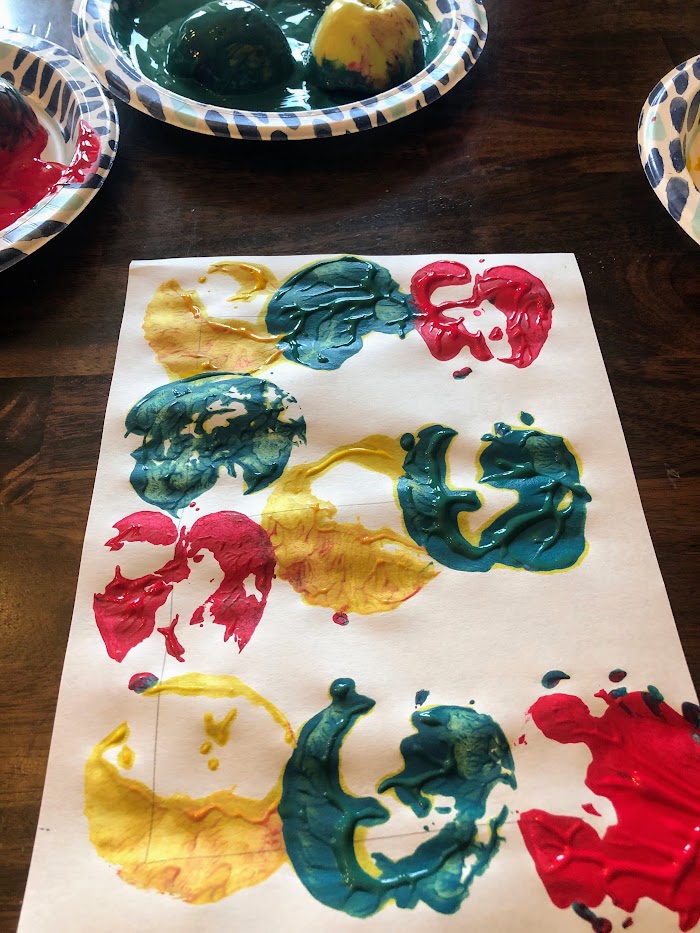
Okay, what does all of this patterning business have to do with apple stamping crafts? Use the apple stamps to create a pattern!
You can choose how many colors your child will use. If they are new to creating patterns, then it is best to provide just two colors. But if they are becoming pattern masters, rather, set out three or four colors.
Encourage your child to think about their pattern before they start, because planning their work helps build their logical thinking and reasoning skills.
Grab a large piece of paper and let your little one get to work on their apple stamping pattern creation.
Materials:
- Apples
- Paper
- Paint
- Paper plates
- Knife and cutting board (optional)
Directions:
- Include your child in washing and cutting an apple.
- Pour the desired colors of paint onto separate paper plates.
- Provide your child with the paper.
- Encourage your child to create a pattern of their choosing by stamping the apples using the different colors.
Again, showcase their work where other family members can see it and be proud.
Apple Stamping Craft #3
Since I’ve presented a couple of apple stamping crafts involving math skills, here is one that is literacy focused.
Apple Stamping Letters
Guide your child in letter identification with this super easy apple stamping activity.
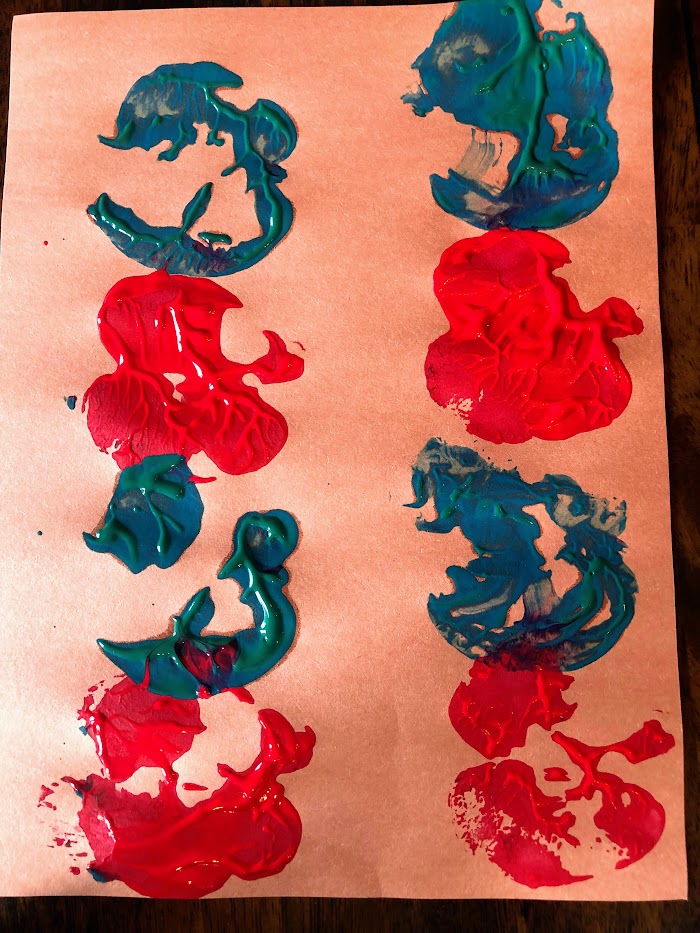
To elaborate, by doing this fun fall craft, your child can learn their letters and understand how they are made by using the apple stamps to essentially trace the lines and curves of the letters.
Materials
There are only a few materials needed for this activity, and they are as follows:
- Apples
- Paper
- Paint
- Paper plates
- Knife and cutting board (optional)
Directions
- Choose the letter you will use first and write it on the paper, large enough to nearly fill the page.
- It’s often best to start with the first letter of your child’s name, as this is one of the letters they will see and write the most.
- Now, name the letter for your child and have them repeat it.
- Decide whether you want to stamp the letter with large or small apple prints.
- If you would like larger prints, cut the apples in half.
- On the other hand, if you would like smaller prints don’t cut the apple and just use the bottom of the apple as your stamp.
- Pour the desired paint colors on separate paper plates.
- Have your child dip their apple stamp in the first color of paint and press it on the line of the letter on the paper.
- Your child can choose to use one color or as many as you allow.
- Repeat the dipping and stamping process until all of the lines of the letter are filled.
- Encourage your child to name the letter again.
If your child is really engaged in this activity, you can continue with more letters in their name. On that note, you can challenge an older child by apple stamping sight words. This project can be modified to work on so many things, including numbers, shapes, names, etc.
There’s really no better way to kick off fall learning than with apple activities.
If you are planning to use this craft as part of a beginning of the school year apple theme, you will definitely want to check out these posts.
First Day of Homeschool Preschool Part 1
First Day of Homeschool Preschool Part 2
I want to hear from you!
Before you go, leave a comment with an apple stamping project you have done. Do you have any memories of apple stamping from your childhood?

